Creating Sunshine and Shadow Quilt Design
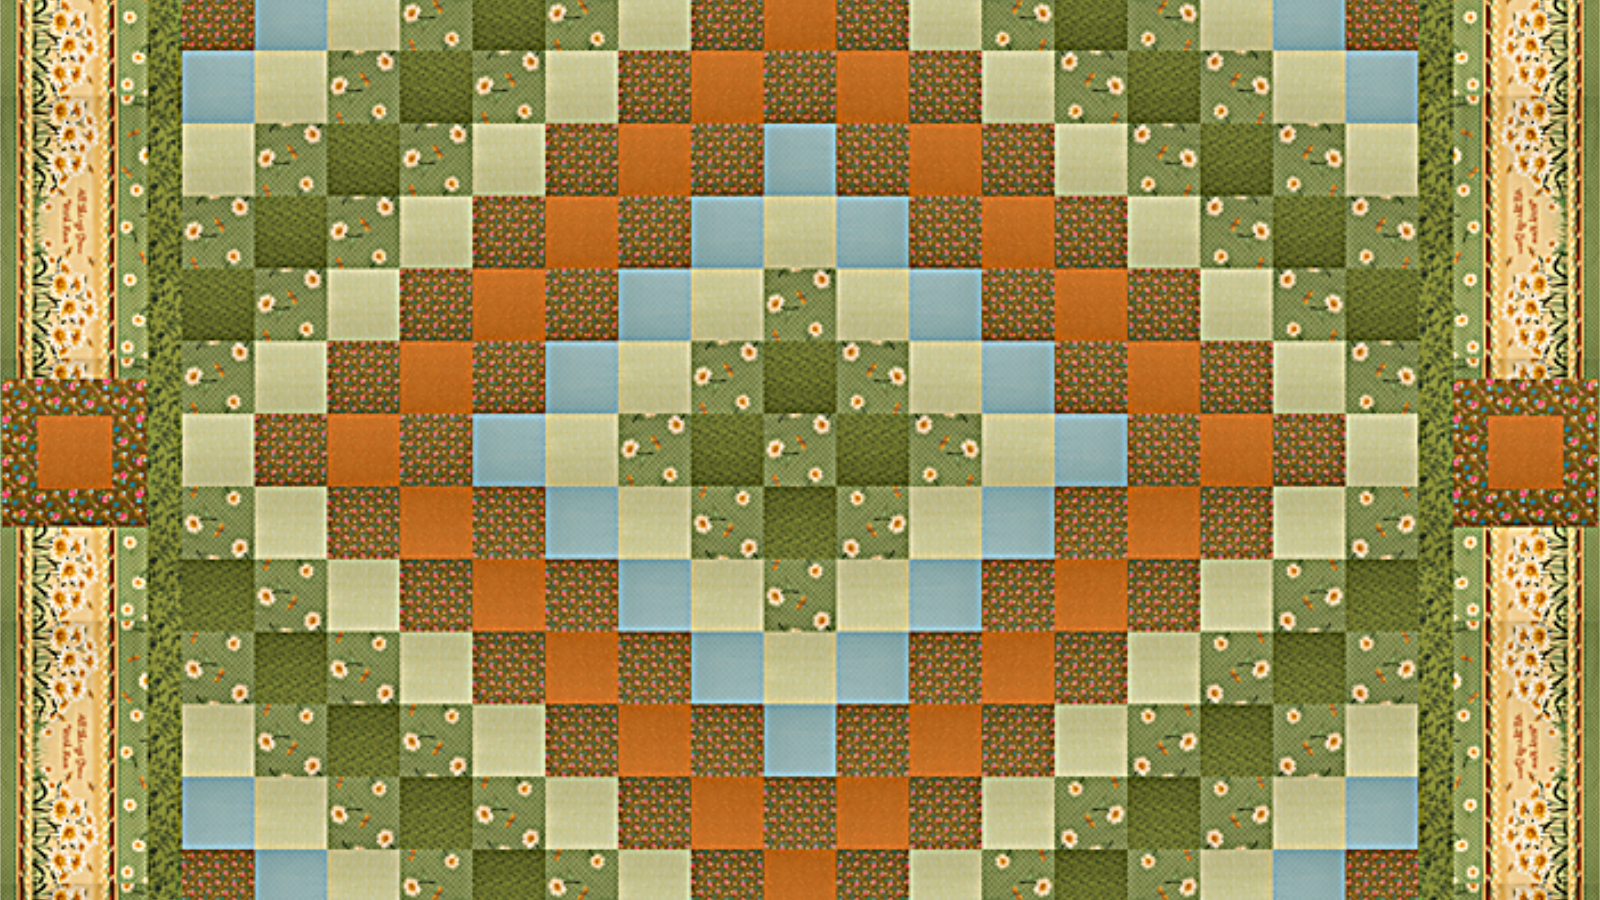
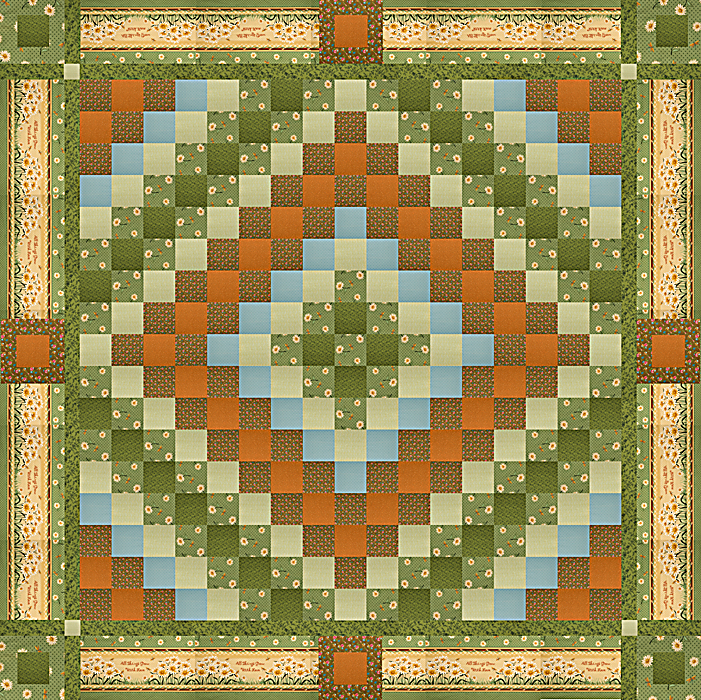
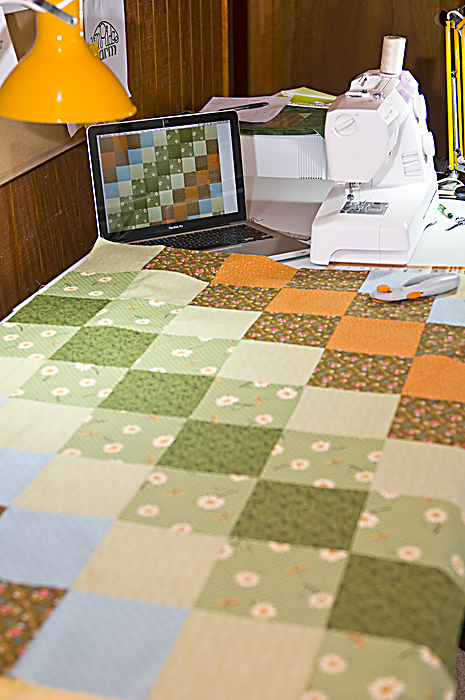
Now, that the fabrics and the quilting equipment are ready, I am prepared to create my quilt. My next step is to take photos of each piece of fabric and design my new quilt in Photoshop. After two attempts, I came up with this Sunshine and Shadow patchwork pattern with borders:
Preparation of the Quilt Sections
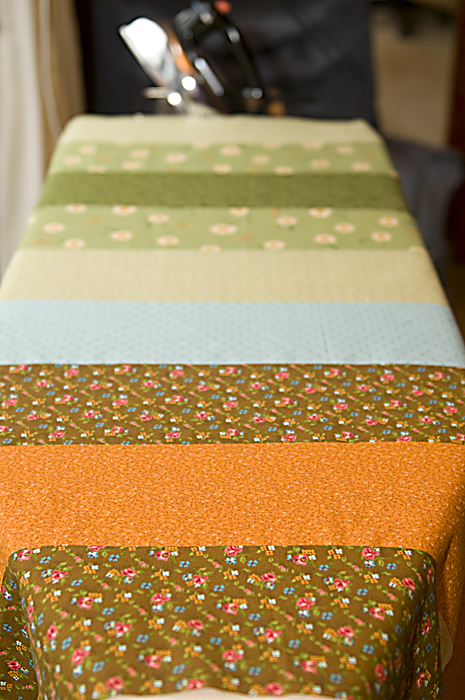
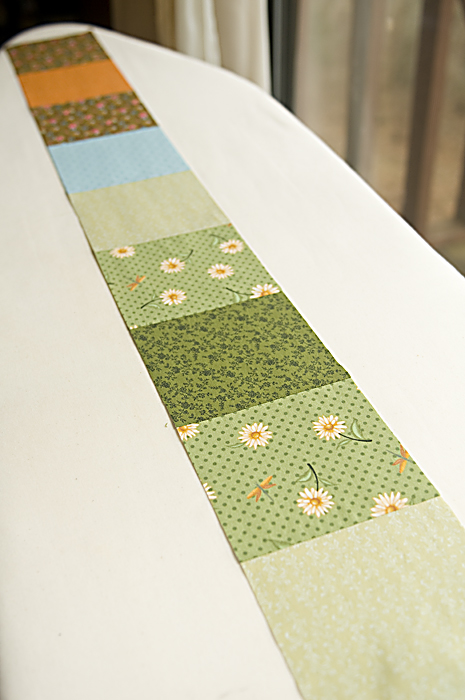
All fabrics are cut into strips 5 1/2” wide to make five inch squares after the quarter inch seam allowance (on each side).
The cut strips are stitched together to make a solid sheet. This sheet will make one quarter of the quilt.
I keep all of my sewing machine settings unchanged until all patchwork is complete. It is very important to have exactly the same seam allowance to line up the blocks very neatly later.
After all strips were stitched together, the seams were ironed to one side. Great care was taken to press the seams very flat without stretching the material.
Precise alignment of the quilt blocks makes a big difference in the end.
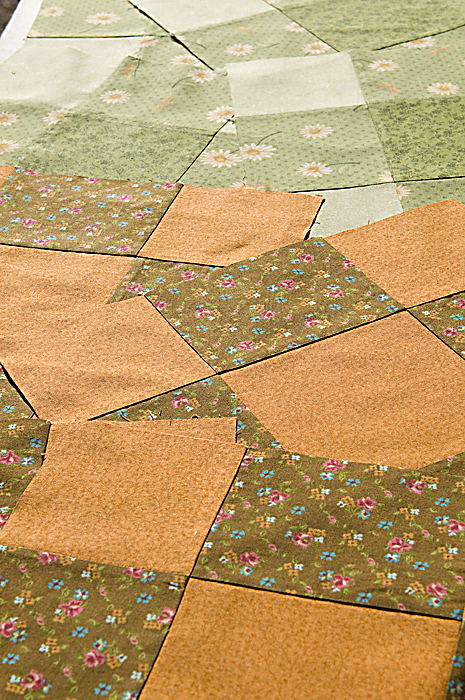
I cut one strip of fabric at the right angle to make the first row of single square blocks 5 1/2” wide.
After one strip was cut, the remaining sheet of the fabric strips was sewn shut to form a tube. That last seam must be pressed in the same direction. Because of this circular arrangement, the Sunshine and Shadow patchwork is sometimes called “Trip around the World.”
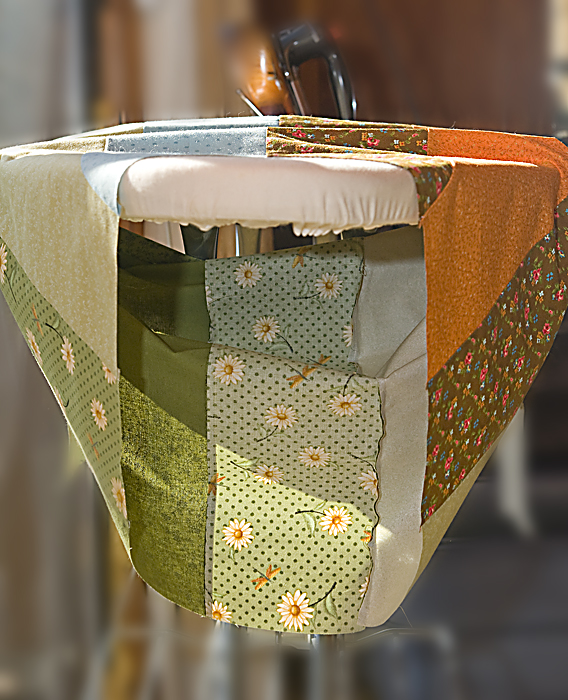
Next step is to cut the tube perpendicular to the seams to make several rings, five-and-a-half inch wide.
Time-Saving Secret of Sunshine and Shadow Quilt Making
And here is the big secret. Each ring should be ripped at one seam, but not the same seam. I rip the rings in a staggered fashion to create the diagonal arrangement.
So, I sew the strips together with the same unchanged 1/4” seam allowance setting.
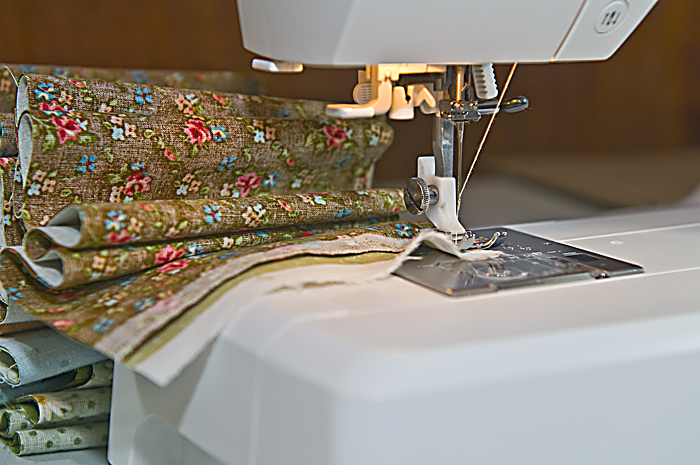
The technique of stitching the strips together is called “chain sewing.” (At least I don’t have to do chain sawing like I did a few years ago when I learned how to cut wood with a chain saw. Whew!)
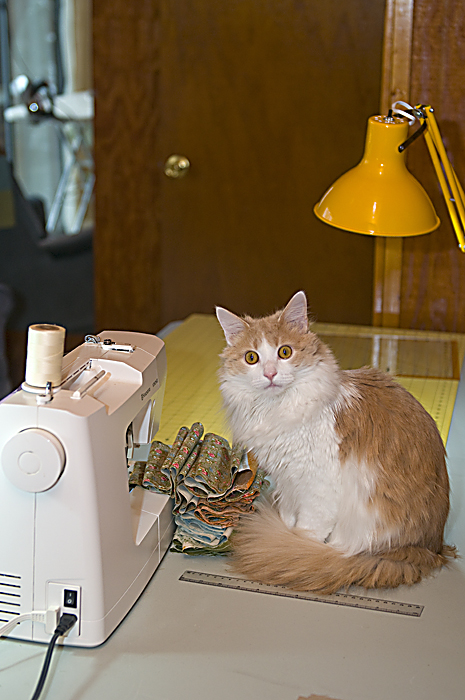
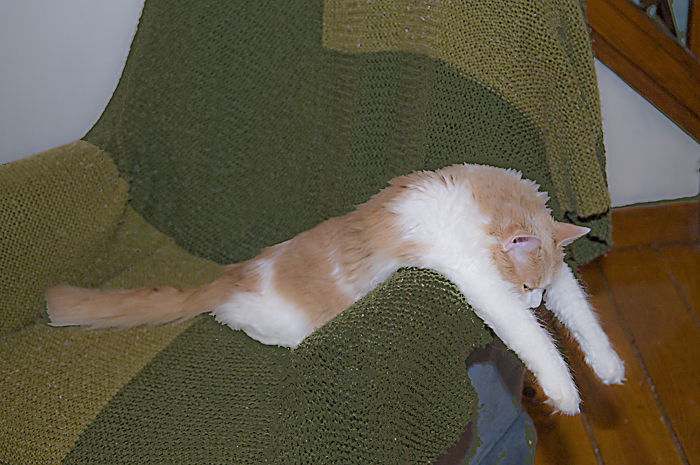
It always helps to have a little helper to double check your work.
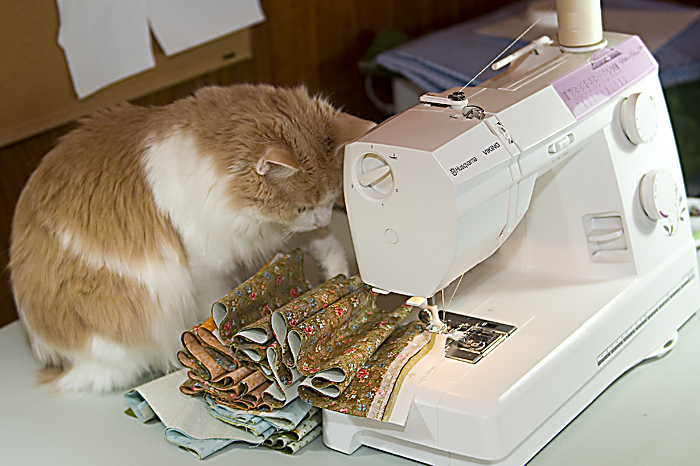
The Quality Manager approved my work. It’s all in the right order.
Whew, I passed the test!
After all strips are stitched together, I press all seam allowances in the same direction.
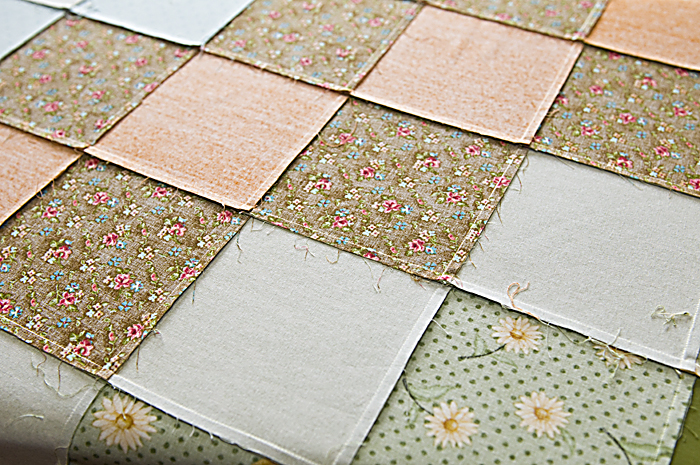
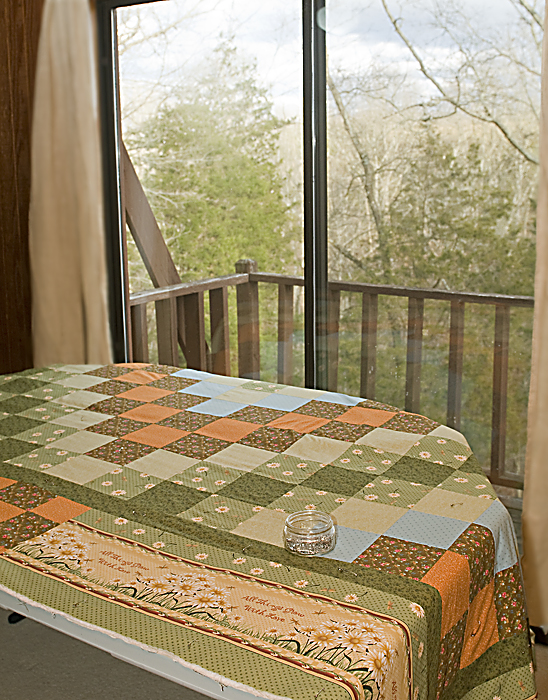
The four quarters of the quilt are done separately to be assembled into one large Sunshine and Shadow quilt top.
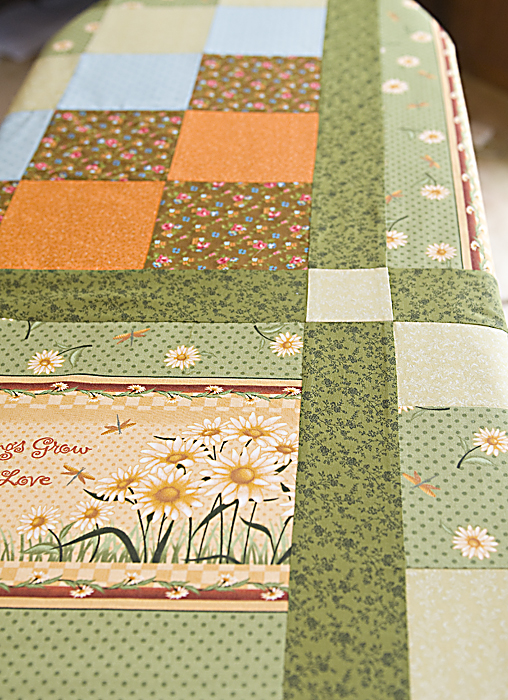
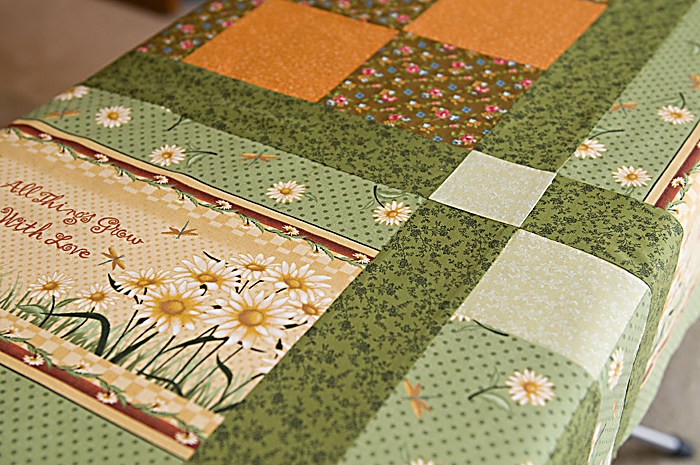
Making the Quilt Border
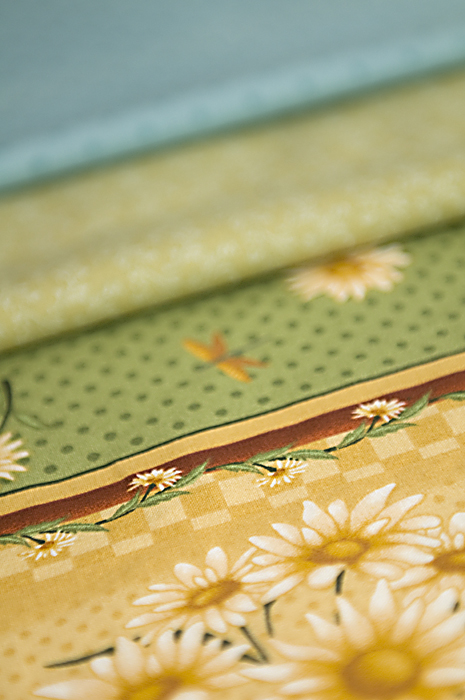
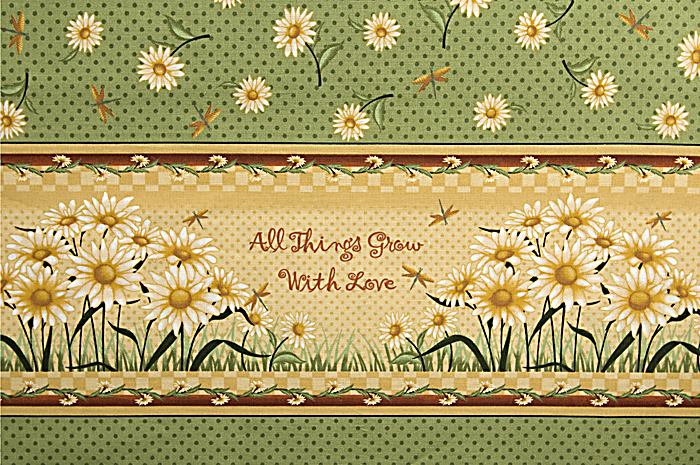
If you read the previous post about the fabric selection for this quilt, you may remember the bright and cheerful print designed by Angela Anderson. I used the fabric’s border along the periphery of the quilt.
I didn’t use it as a continuous piece of the border fabric. Instead, I broke the design with additional quilt blocks to make it more appealing.
Just as my Photoshop design, eight quilt blocks were made to adorn the border: four green blocks for the corners of the quilt, and four brown-and-orange blocks were used in the middle of the border on all four sides.
When the border was finished, I carefully ironed it to flatten the seams.
When I work on my patchwork, I don’t see the entire quilt. It’s too large to be spread out on the work surface. And I try not to pull and shake the quilt top as it may cause the undesirable stretching and skewing of the quilt blocks.
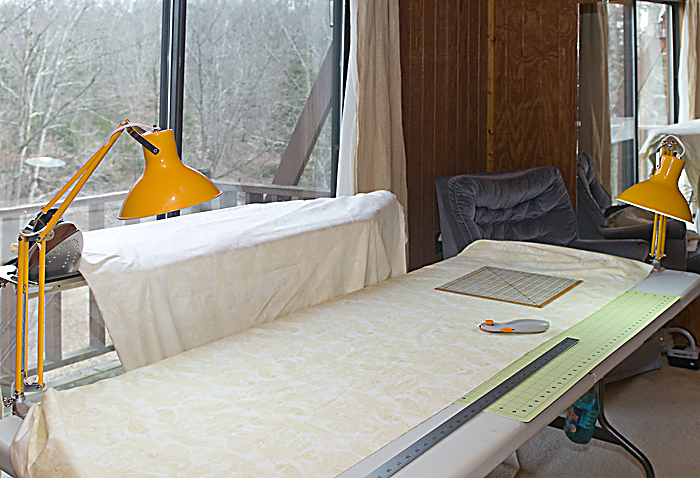
Making the Quilt Sandwich
After all of the patchwork is done and the quilt top is ready, I start working with this beautiful backing fabric from Hancock’s of Paducah, KY. I already prepared the solid piece of fabric ahead of time. It’s been prewashed, pressed, and trimmed.
The patchwork was finished at last. And the back side of the patchwork will never be seen again.
The next step, now, is to sandwich the top, batting, and backing and secure the quilt. I typically don’t use any basting sprays on my quilts. And I am not going to do it this time either. Good old fashioned safety pins do the job perfectly well.

on the bottom, and the batting is nestled in-between the two layers.
All three layers are sandwiched into one piece of my cozy creation.
They are spread out gingerly with no pulling or tugging.
The quilt is ready for the next step, which is stitching. We are going to take a break though. It’s been a long day. Ask the Quality Manager how hard we worked. But may be not just yet. The QM has crashed after the long and arduous day.
See you next time!